Enable/Upgrade Your WordPress Site to PHP7.x on WPX Hosting
In this article, check How to Enable/Upgrade Your WordPress Site to PHP7.x on WPX Hosting.
How To Enable PHP 7.0 / 7.1 on WPX Hosting?
Enabling PHP 7.X version is easy and simple on WPX Admin area, you can do it within Few Clicks. Follow below steps to Enable/Upgrade Your WordPress Site to PHP7.x on WPX Hosting
Step 1:
Now go to WPX user’s admin area, Click on MY SERVICES and then Wordpress Hosting.

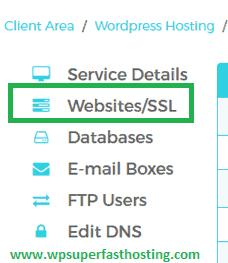
Step 2:
Now in the sidebar, you will see Websites/SSL option.
Step 3:
Now you will see Settings option and Select PHP, Now choose the PHP 7.x Version & Click on Save Changes.
Read WPX Hosting FAQs, if you have any doubt.
NOTE:
Please note that PHP 7.X might not be supported by some of the plugins and themes you use. Be sure to check your website/s are working smoothly after the upgrade. Use PHP Compatibility Checker and Scan your blog Theme & Plugins.